
About 4 weeks ago I had an error on my SteppIR controller indicating that something was wrong managing the tape(s) in the element housings of my SteppIR antenna. After some troubleshooting on the ground looking up I decided it was time to take the tower down for some maintenance to see what was the matter.
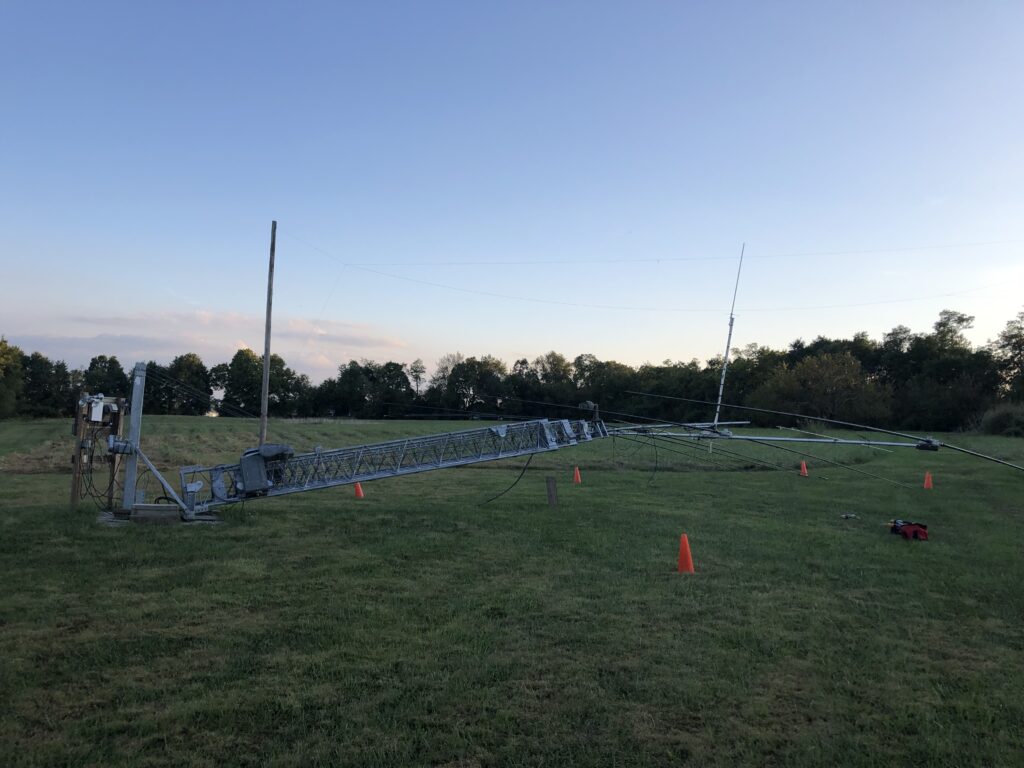
It takes me about 10 minutes to get my tower and antenna on the ground where I can work on it. There are two electric worm drives that allow me to put it on the ground as indicated above. I didn’t get to work on it the night I brought it down but did go out there the next day to see what I could find.
In the past it’s been wiring that caused controller errors (of my own making). There are 16 wires that run the 4 step motors that control the elements. When I bought the antenna many years ago it was one of the first models they offered. They really hadn’t had the years of experience required to work outcome of the kinks that show up with years of operation of a product like this. Because of this, some of the cables, connectors and methods used were really not up for being outdoors for years in all kinds of weather, temperatures and sunshine.
Having said that, I’ve not had much trouble with the antenna in spite of all of it’s moving parts. The only other time I had an issue was when a plastic cog broke inside the motor housing (EHU) on the driven element.
Ironically, that’s how tower #2 was born. The driven element when the antenna was located on tower #1 required the use of a crane to repair. After struggling with the decision on how to manage this antenna into my future I decided it needed to be on a different structure; one that I could manage for years to come. That decision has really paid off allowing me to properly maintain this antenna over time. Much more planning, working with the county, permits, designing, drawings, etc. I built tower #2 that you see here.
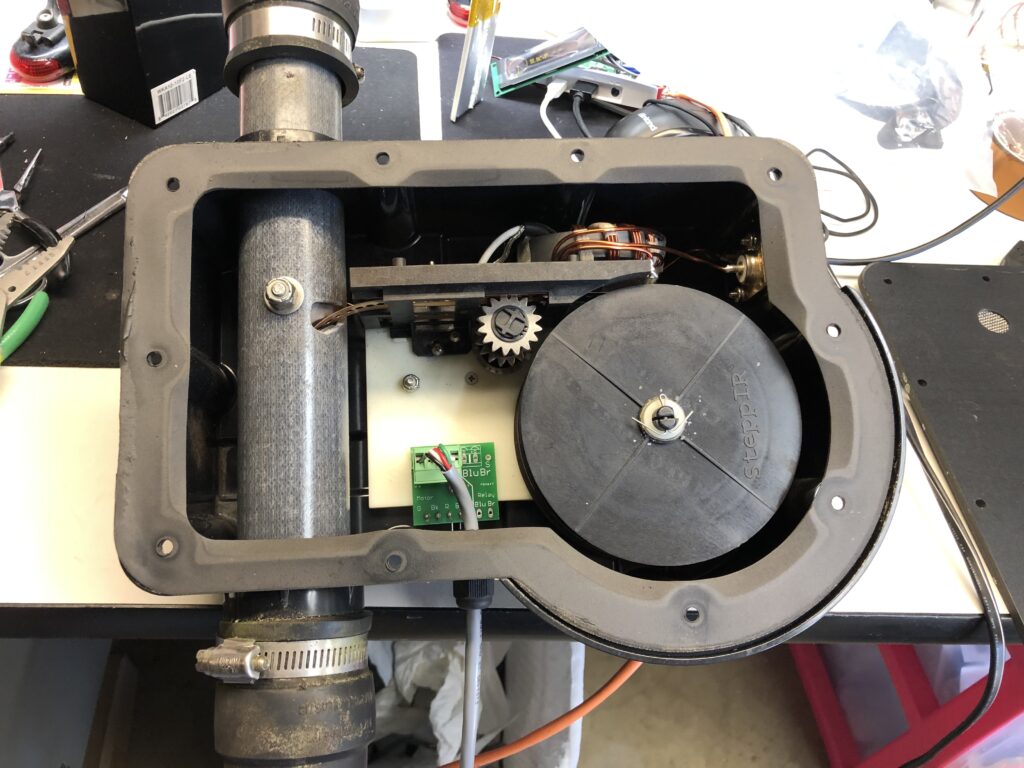
Back to my problem. After some troubleshooting I figured out what was wrong. With all the elements supposed to be in the retracted position one of the tubes had something in it rattling. What could that be?
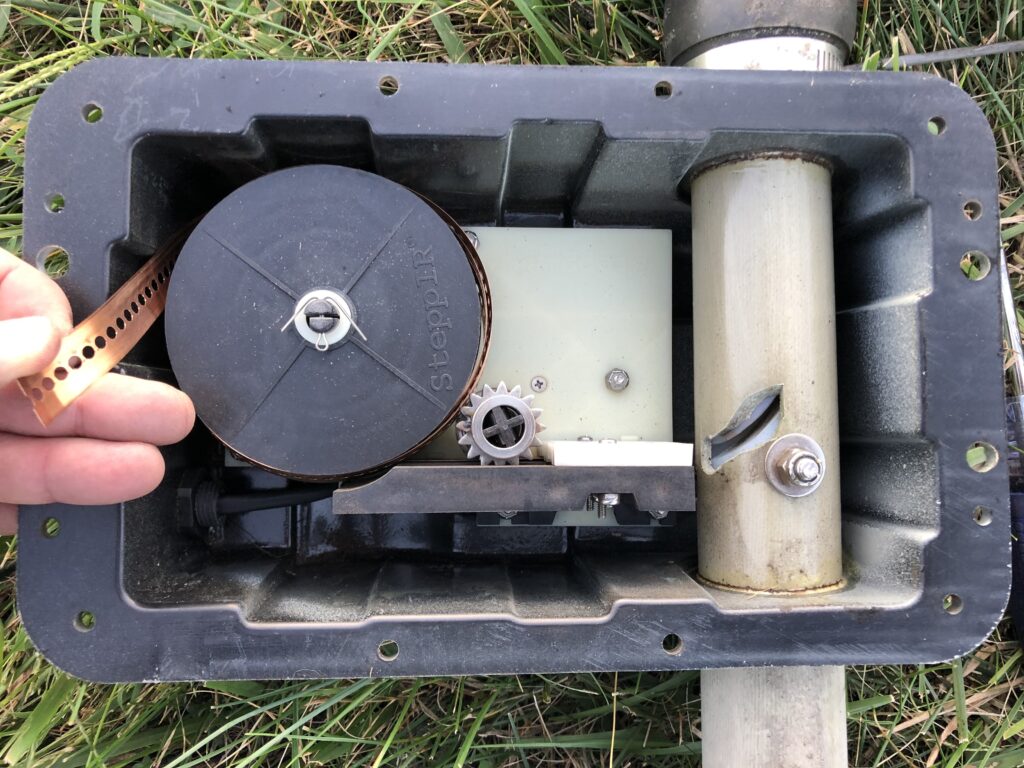
Broken copper tape. 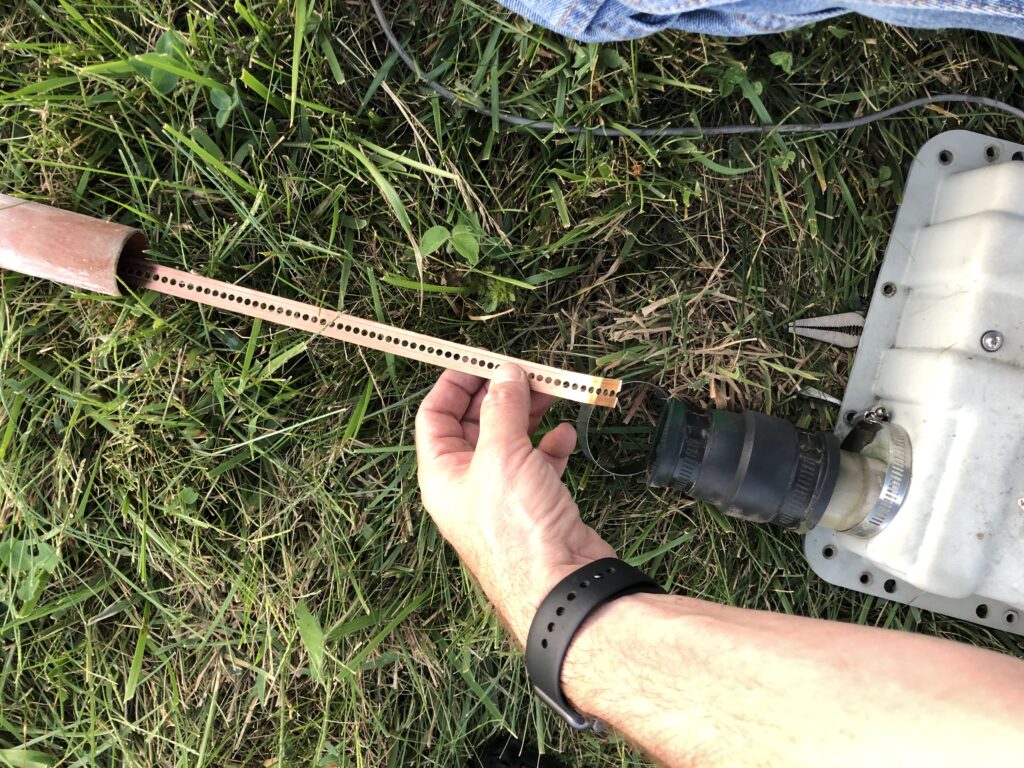
Copper tape broken inside tube.
One of the tapes was broken. The other was bent. After further troubleshooting I realized that the rewinding mechanism the tapes use failed on one of the tapes causing excess tape to be unreeled inside the EHU housing. It appeared the step motor bent the tapes essentially destroying them both.
I had to leave for business then vacation but before I left I ordered replacement tapes from SteppIR along with some other small things like gaskets that I could replace once I got into my project. They shipped the stuff to me when I was out of town. It was waiting for me upon my arrival home.
While I was gone I decided that I was going to do what I’ve been wanting to do for some time and that was to rewire all the EHUs with better control cable without any breaks all the way to the base of the tower where it is interfaced with a controller. That work took a few days. I had to pull off every motor, take down all of the old cable, rewire the motors and put everything back in place.
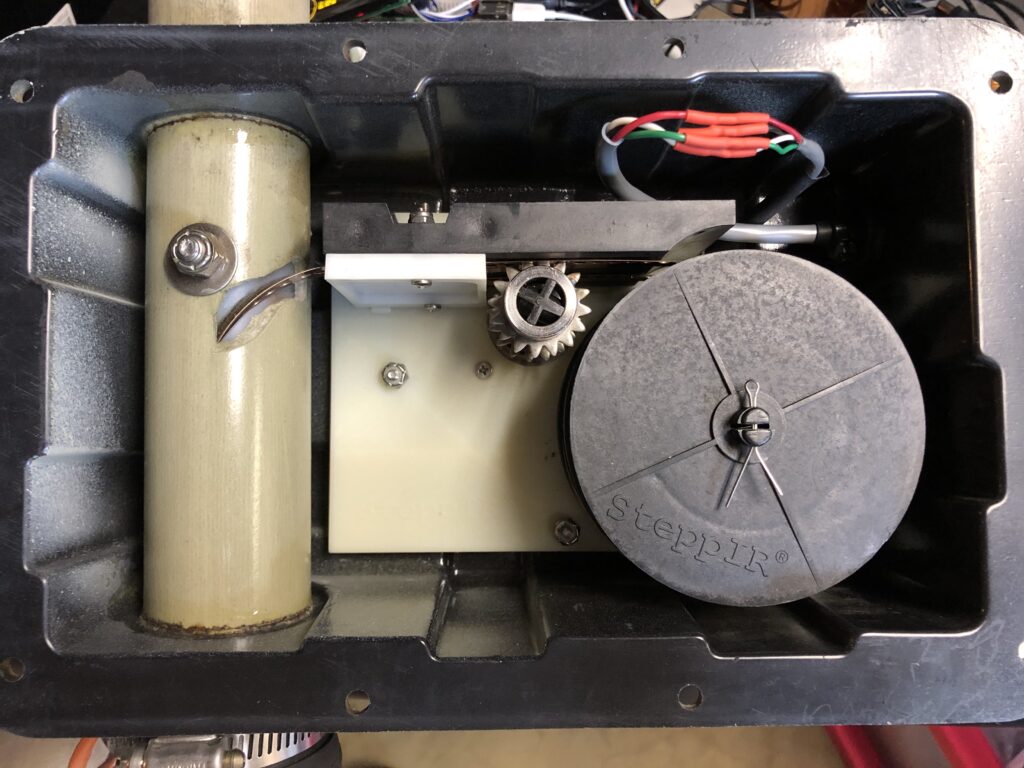
Rewire of old EHU. 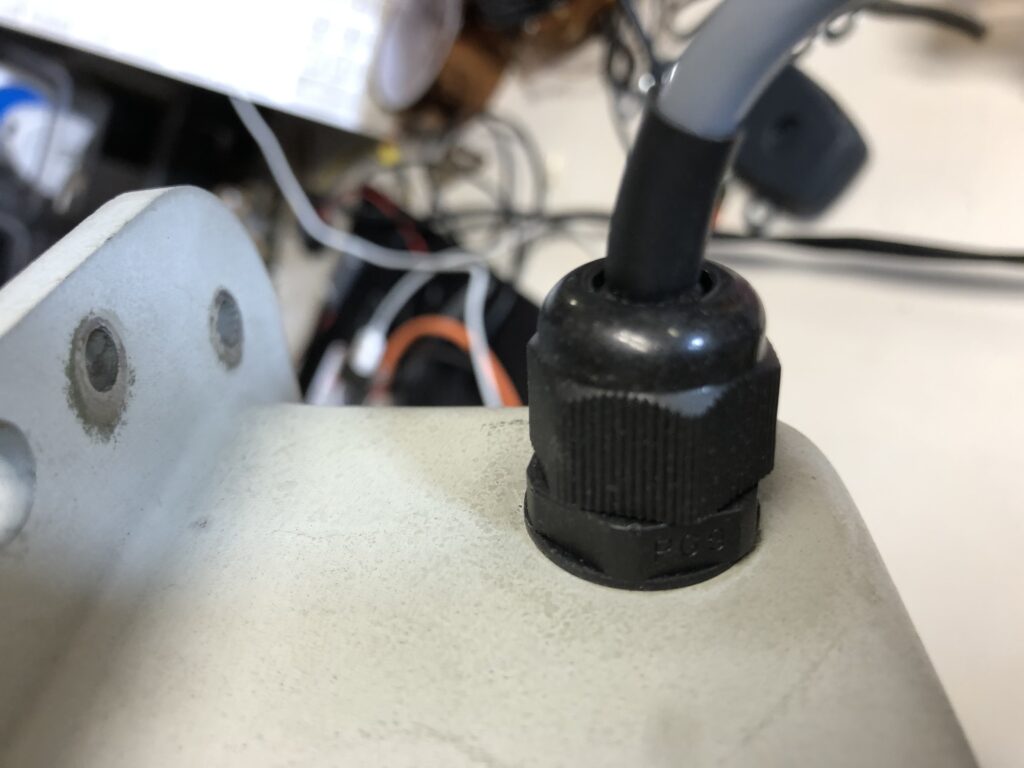
New Cable Glands. 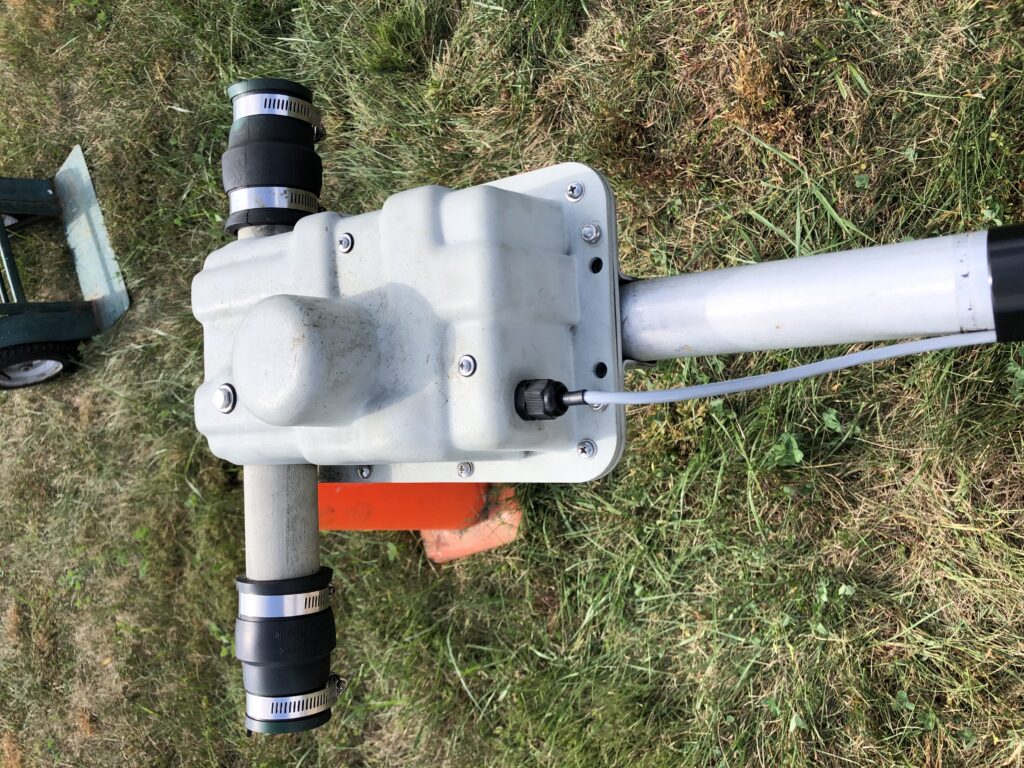
Old EHU (reflector) 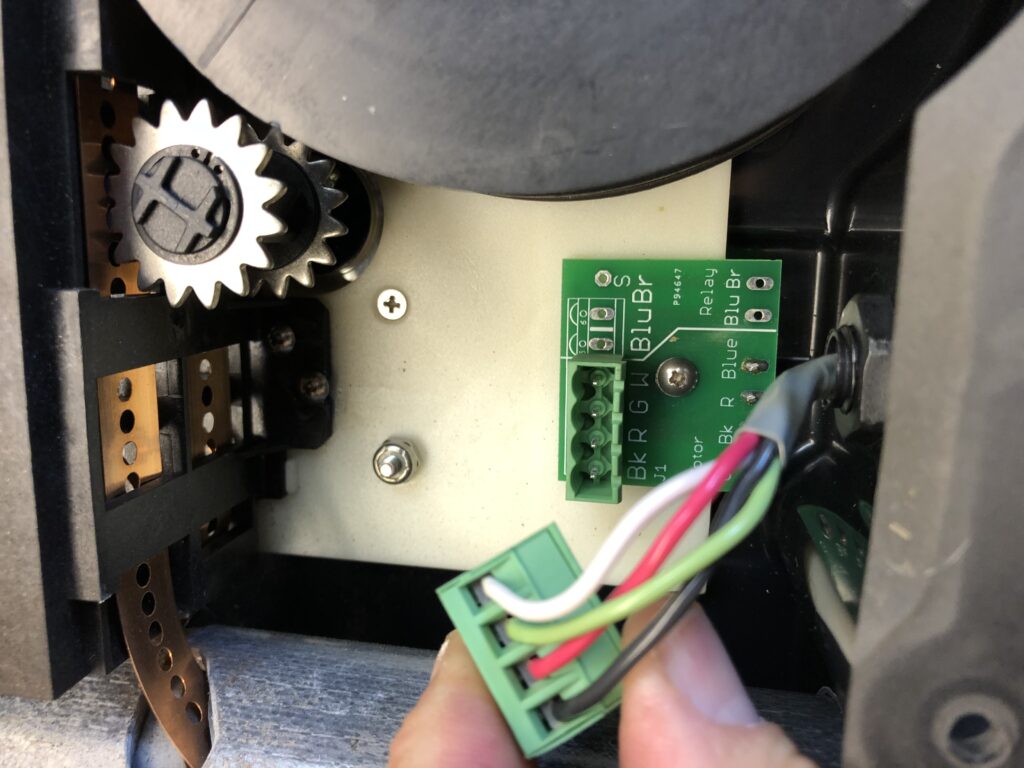
New EHU connector. 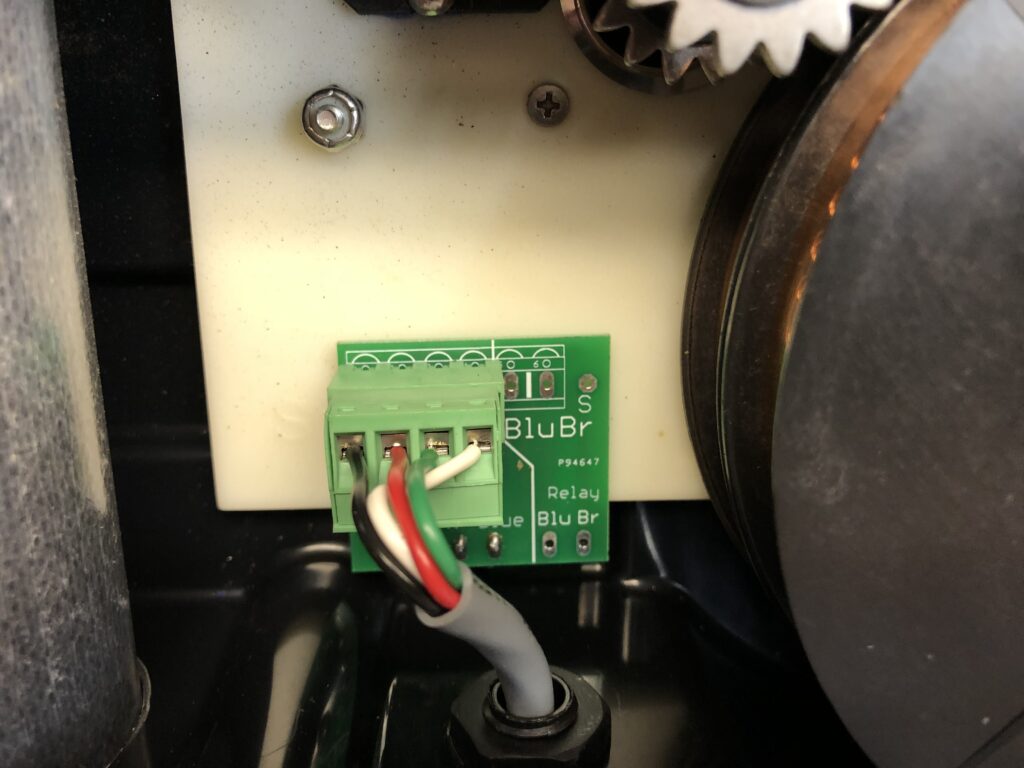
Newer EHU (driven)
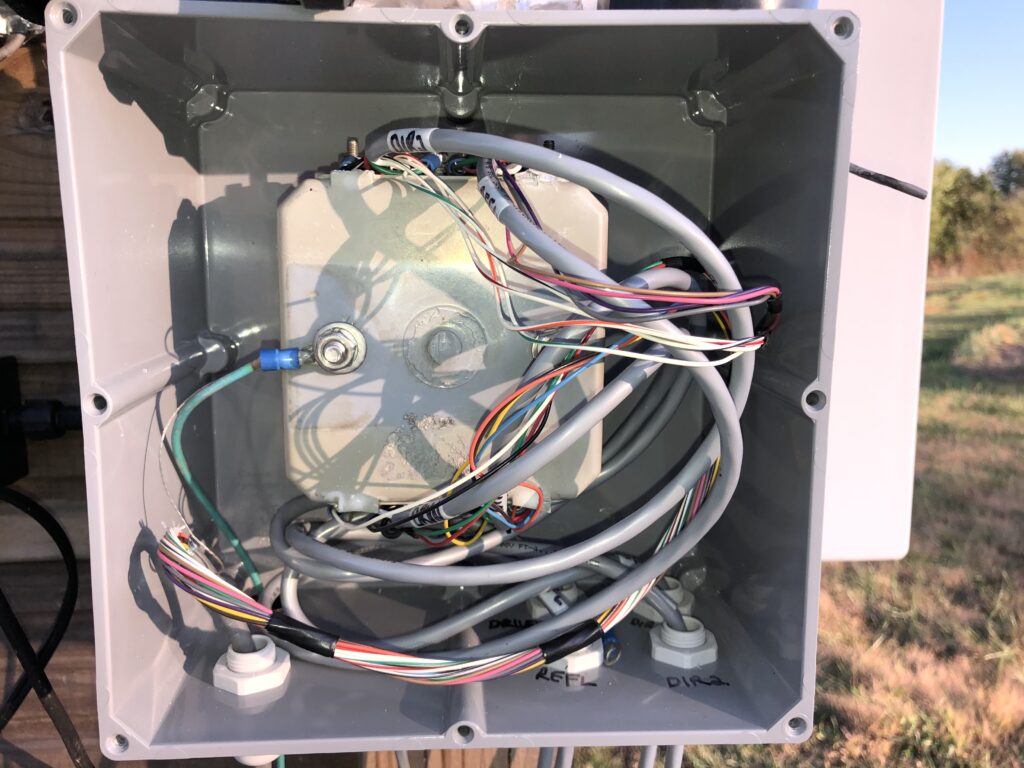
To rewire the motors I bought 500 feet of 4-wire control cable from DX Engineering. I would end up using all but about 50 feet of that. Once you run the cable up the tower and out to the motors it’s about 80-ish feet of cable.
All of that cable comes into a new enclosure I decided to also build. The enclosure is from Home Depot, the cable glands from EBay. The device on the inside is one of the original SteppIR doo-dads used to eliminate line noise and provide a path to ground (voltage suppressor). I’ve never like that it was outside cabled with inside-grade cable. So I put the whole shooting match on the inside of an enclosure out of reach of the sun and weather.
After wiring everything back up I brought the controller out to do a test run. Much to my surprise, I got the wiring correct on the first run and everything tested out perfectly. Sweet!
Since the tower was down I took the opportunity to grease all the trust bearings (there are 3 of them), cold galvanize any minor rust I could find, use Fluid Film on fittings that tend to rust and then waxed the skids on the tower sections.
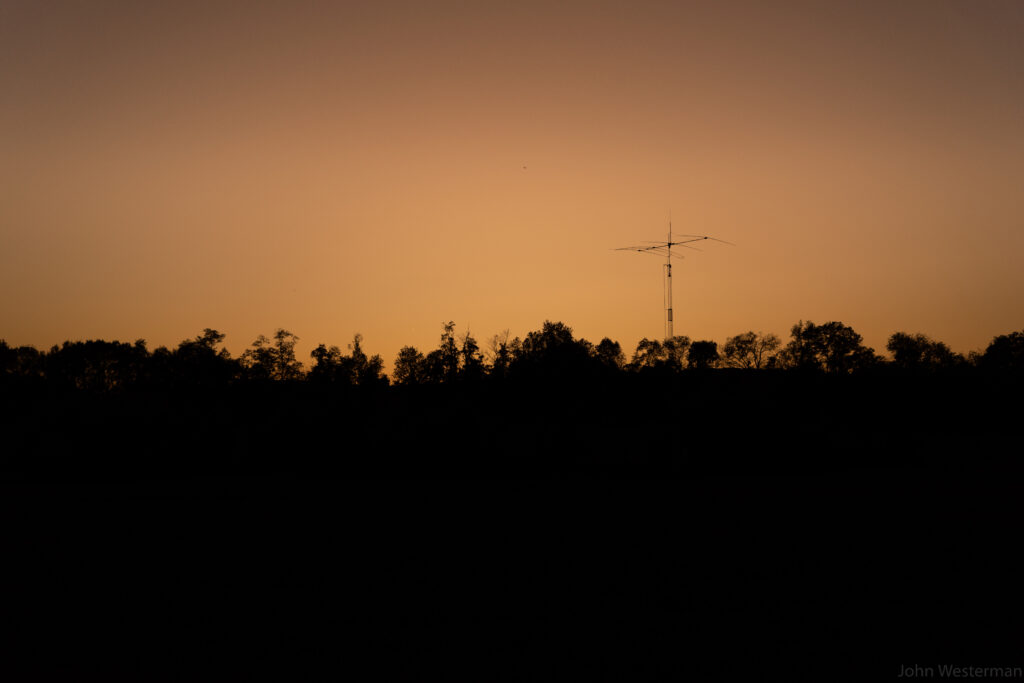
I used the worm drives to bring the tower back to it’s upright position, fastened all of the bolts back in place and finished dressing the cable down to the base of the tower while lifting the tower into it’s fullest up position.

I cleaned and dressed the chain for the primary motor and tested the up and down movement of the tower to be perfect. I was back in action!
The antenna is really amazing to operate. I’m glad to have this project done before things get really cold. I’ll be using this antenna a lot this winter. After the repairs I’ve been able to make contacts all over the world in all different modes.
I did the work all myself. The parts from SteppIR were $110 and the cable from DX was $166. I bought this antenna on January 23, 2008, almost 12 years ago. Many people tell me that the maintenance of this antenna is too much to bear and keeps them from owning one. I beg to differ.
What a wonderful piece of kit this antenna has been. I’ve enjoyed every bit about it. From the original purchase, construction and lifting on to my first tower and then on to its final place on tower #2 it has been a joy to use.
I hope to see you on the air soon.
73!
John
W5ODJ